- December 7, 2018
- Posted by: Taylor Johnson
- Category: Customizations

Importing data can seem like an easy task. Unfortunately, it is usually much harder than originally thought, once you take a look at the data. For that reason, we are going to go over everything needed to be able to do data imports yourself.
There are several ways that data can be imported into Dynamics 365.
- Data Import Wizard – Good for small data imports
- 3rd part tools – Apps like “Scribe”
- Power Automate – Part of the Power Platform
TASK
I believe that the best way to learn how to do something is to just do it. For that reason, we are going to import data using a pre-built template via the Data Import Wizard.
Preparing your File
- You first must double-check that these contacts do not already exist in the system.
- To do this, export all contacts via advanced find and match via the email field.
- If there are any matches, you need to take them out of the import file and update their Lead Source.
- *For Marketing* – Do not set pre-existing contacts as Marketing Only (Yes). These contacts were already in the system, so they would not be Marketing Only.
- You can do this manually or in a separate import file. Once this import file is finished, set it as XML 2003 and proceed to the next step.
- Once you have a list of non-duplicate contacts, add columns for (Marketing Only, and Lead Source)
- Set Marketing Only to Yes
- Set Lead Source to whatever its source is from
- Save the file as XML 2003 and proceed to the next step
Next, we will go to Settings, Data Management. We want to download an A
This will populate the screen seen below. Before we go further, let’s talk a little more about what we are doing. These templates are extremely useful. They allow us to be able to map data to the right locations without having to manually enter the desired locations. These templates will end up saving hours of your time if you use them correctly.

Next, we will add the info for a couple of dummy accounts that we want to add. The cool part about these templates is that they allow you to not have to map the information. Behind the scenes of this Excel document, the information for all the fields will be automatically routed to their respective areas.

Once our document is finished and all of the desired information is filled out, we want to save it to our computer.
Note: If you are importing multiple excel files, you can save them both to a .zip file and only import once.
- Go to the setting at the top right of your screen and select Advanced Settings.
- Once in the Advanced Settings, navigate to Data Management, Imports.
- Click Import Data

Select “Import Data” and then select your XML 2003 file that you should have just saved.

I would select “Yes” to allow duplicates for the sake of having no errors in this test. When you are importing real data into your system, you probably won’t want duplicates and will have to be more careful with your data. Click “Submit”. The data will start out by parsing, then transforming, and importing the data. This process may take a couple of minutes.

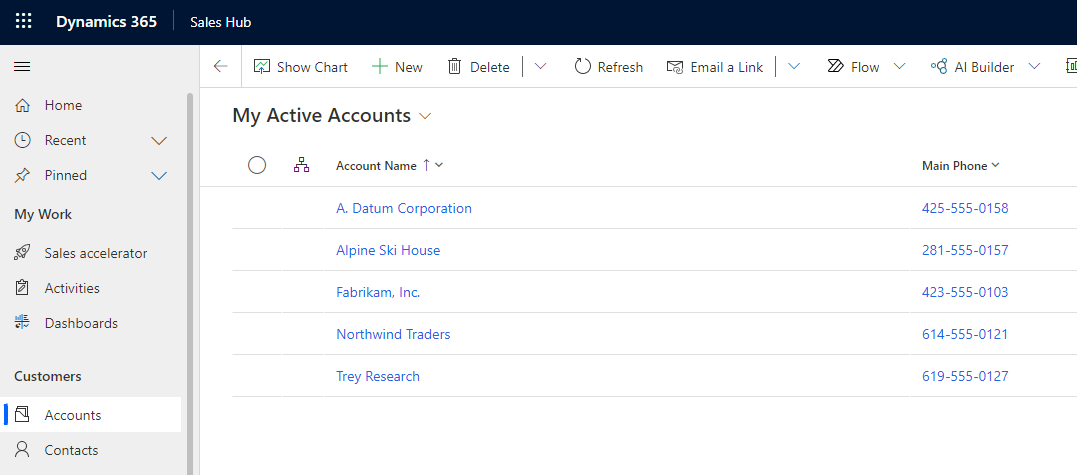
You can now go to Accounts. If the data was submitted correctly, there should be the accounts that you put into your excel document.

As you have seen, using these templates is really not that hard. Mine only took me about 5 minutes to complete.
