- April 19, 2019
- Posted by: Taylor Johnson
- Category: Configurations
This post is part of a series that I am creating which go over Configurations as they relate to Microsoft Dynamics 365.
Every business has their own way of doing things. After all, companies implement Dynamics 365 because they want consistency. Consistency is a huge factor when everyday Users go about selling things or enacting on service requests. The way that Dynamics 365 enforces consistency is through Business Process Flows. Think of Business Process Flows as a flow chart; you must complete one thing to advance to the next.
Business Flows can be linear, or multi-functional. Think of the Multi-functional approach like how your business would react to high paying customers vs low paying customers. Some companies would like to give more support to the companies that in the end give more revenue to your company
There are a few Business Process Flows that come out of the box. In these BPF’s there are stages. Each stage is made up of steps which must be completed to advance to the next stage. Let’s look at the different out of the box BPfs that we have available to us. Go to Settings, Data Management.

Click on “add ready to use business process flows”.

This step simply adds BPFs to your system so that they will be there in the next step.
Create a Business Process Flow
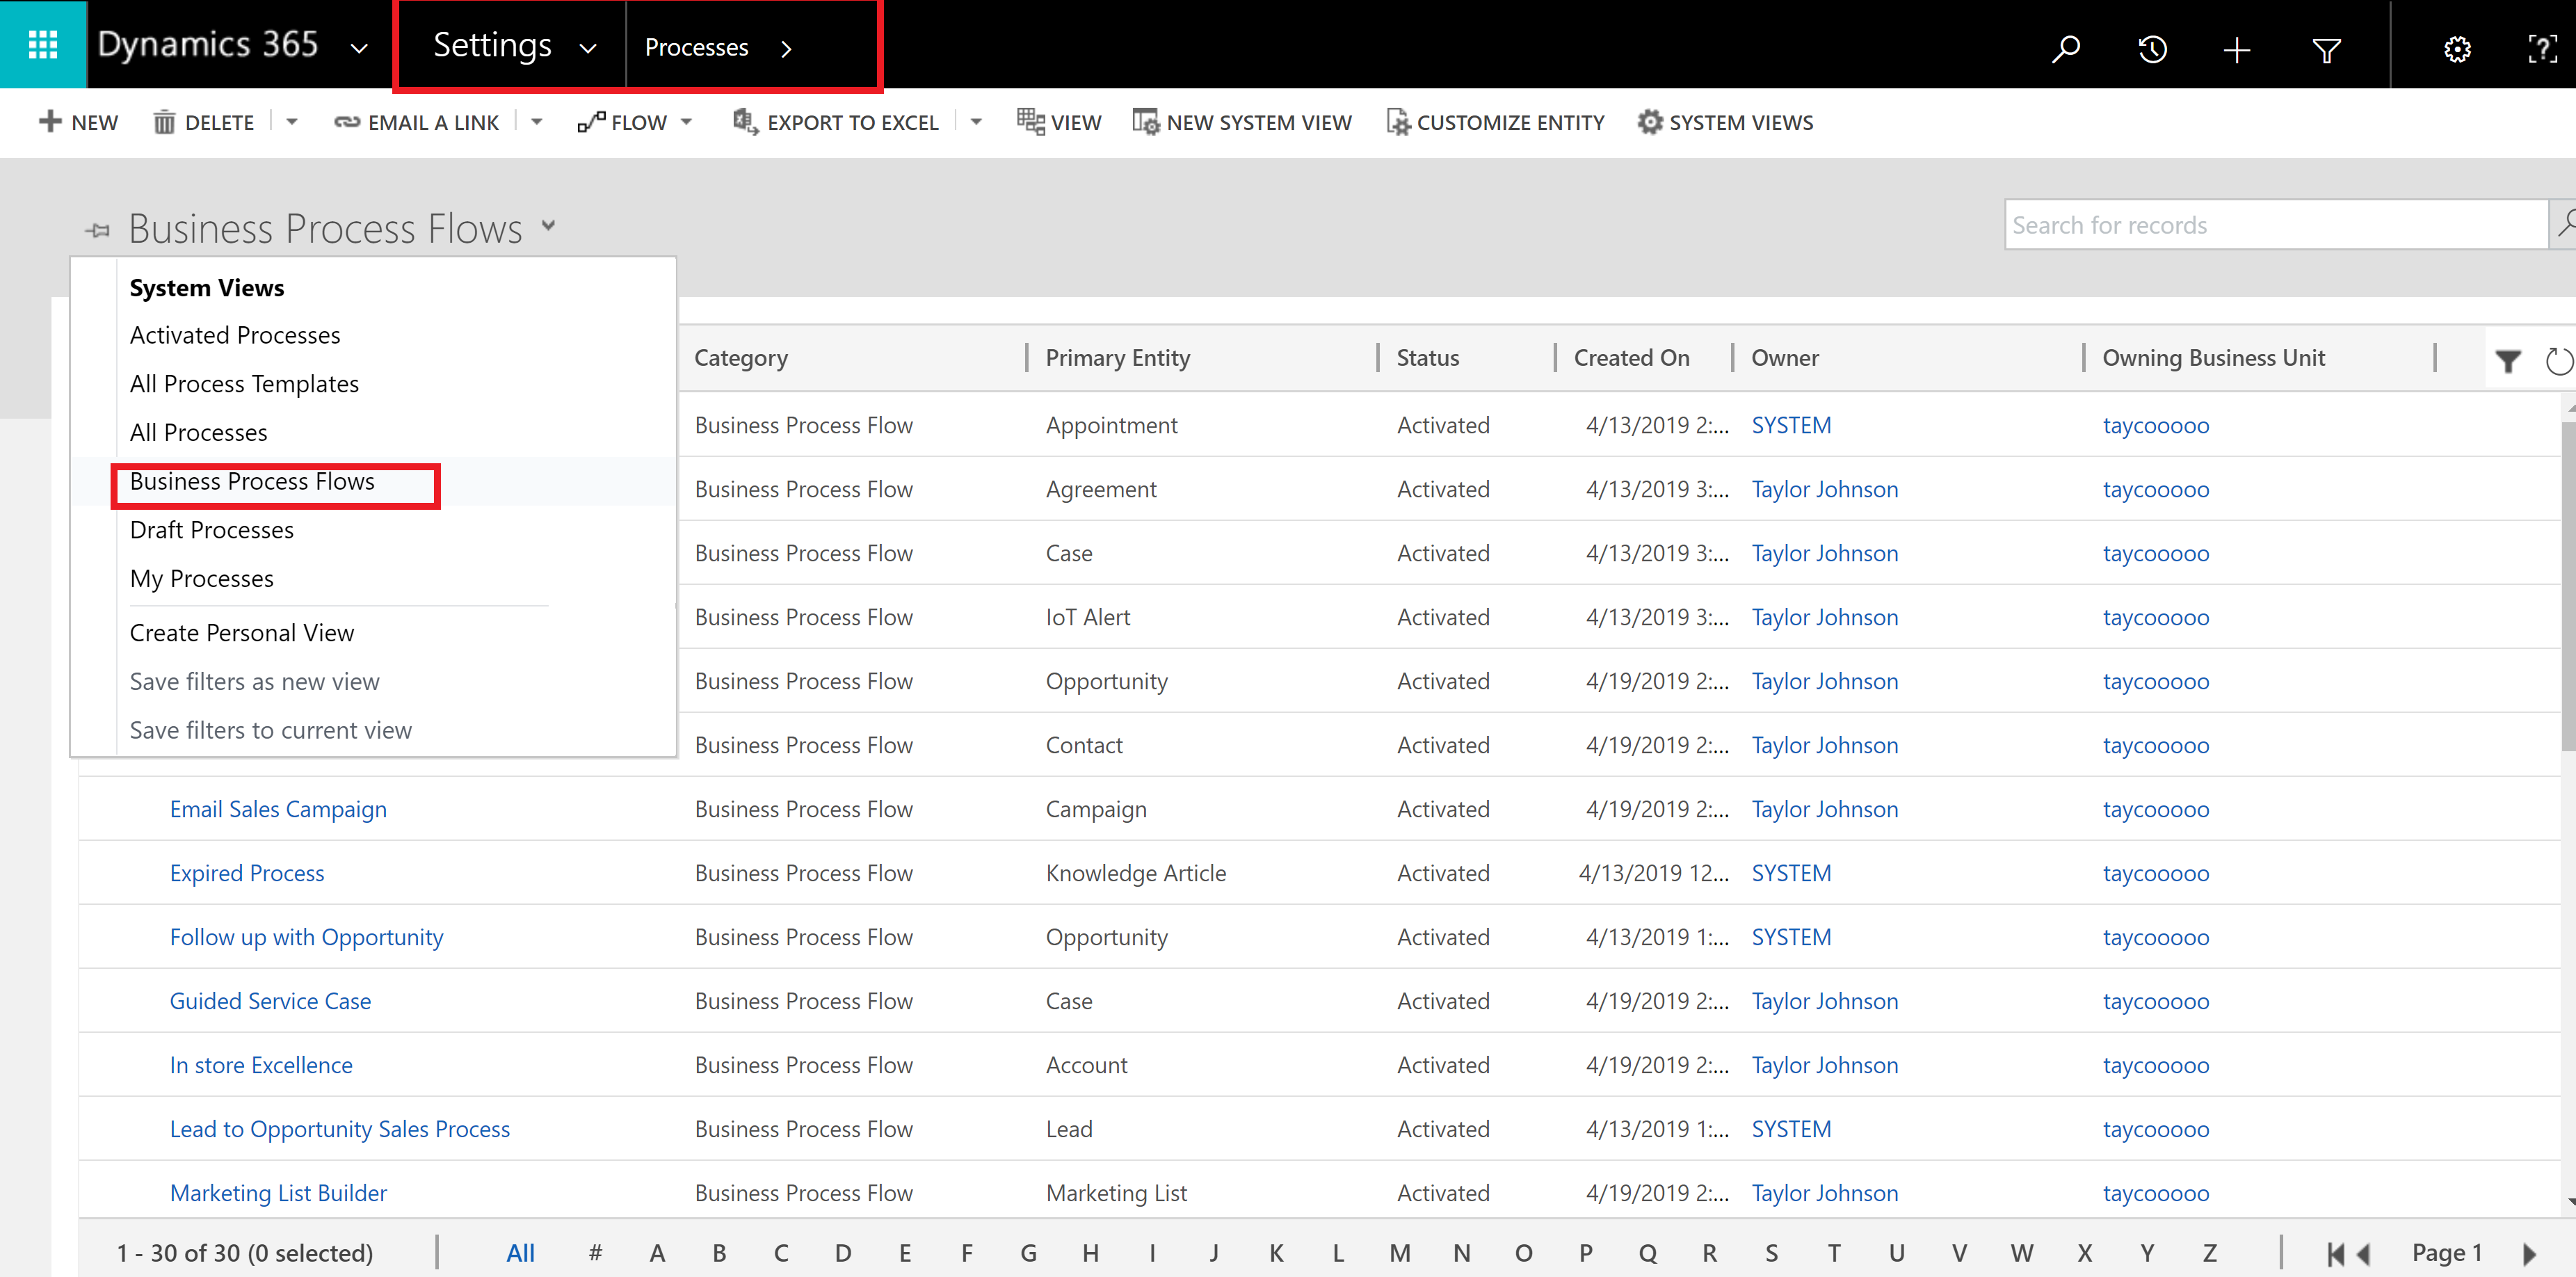
Lets first view the Business Process Flows that we have. Go to Sales, Processes, and change the View to “Business Process Flows.”

Instead of creating an entirely new Business Process Flow, let’s look at the main Sales, Lead to Opportunity BPF. You can find the specific Business Process Flow in the image below.

When you clock on the BPF, the Process editor will populate.

The Process editor allows you to drag and drop stages, steps, and categories.
Let’s add a Condition to this Business Process Flow to see what it can do. In my example at the beginning of this post I said that we might need additional approval if a lead is worth above a certain amount of money. In the image below, I added a conditional constraint.

Workflows
Workflows can be added to Business Process Flows in the Process editor. Simply drag and drop the required workflow to the stage that is needed. You can see the right image below.

The definitions are based from the Microsoft Dynamics 365 website. I encourage you to look at them. These documents are helpful when you want to learn more in depth on any subject.