- February 1, 2019
- Posted by: Taylor Johnson
- Category: Customizations

This post is part of a series that I am creating which go over Customizations as they relate to Microsoft Dynamics 365.
Views are helpful when you want to see a select group of records. They can be saved and shared among groups of coworkers while preserving the security of the system. When Views are shared, they only share the lookup information. In the end, the User’s privileges are what allow certain records to be shown. Views can be included in Dashboards or on forms as sub-grids.
Views can be grouped into three different types.
System Defined Views
Can be customized by users, but not deleted
Out of the box
Examples include the Advanced Find View
Public Views (system)
Available to all users with access to that Entity
Can be created and customized
Personal Views
Created by users and can be shared with users or teams

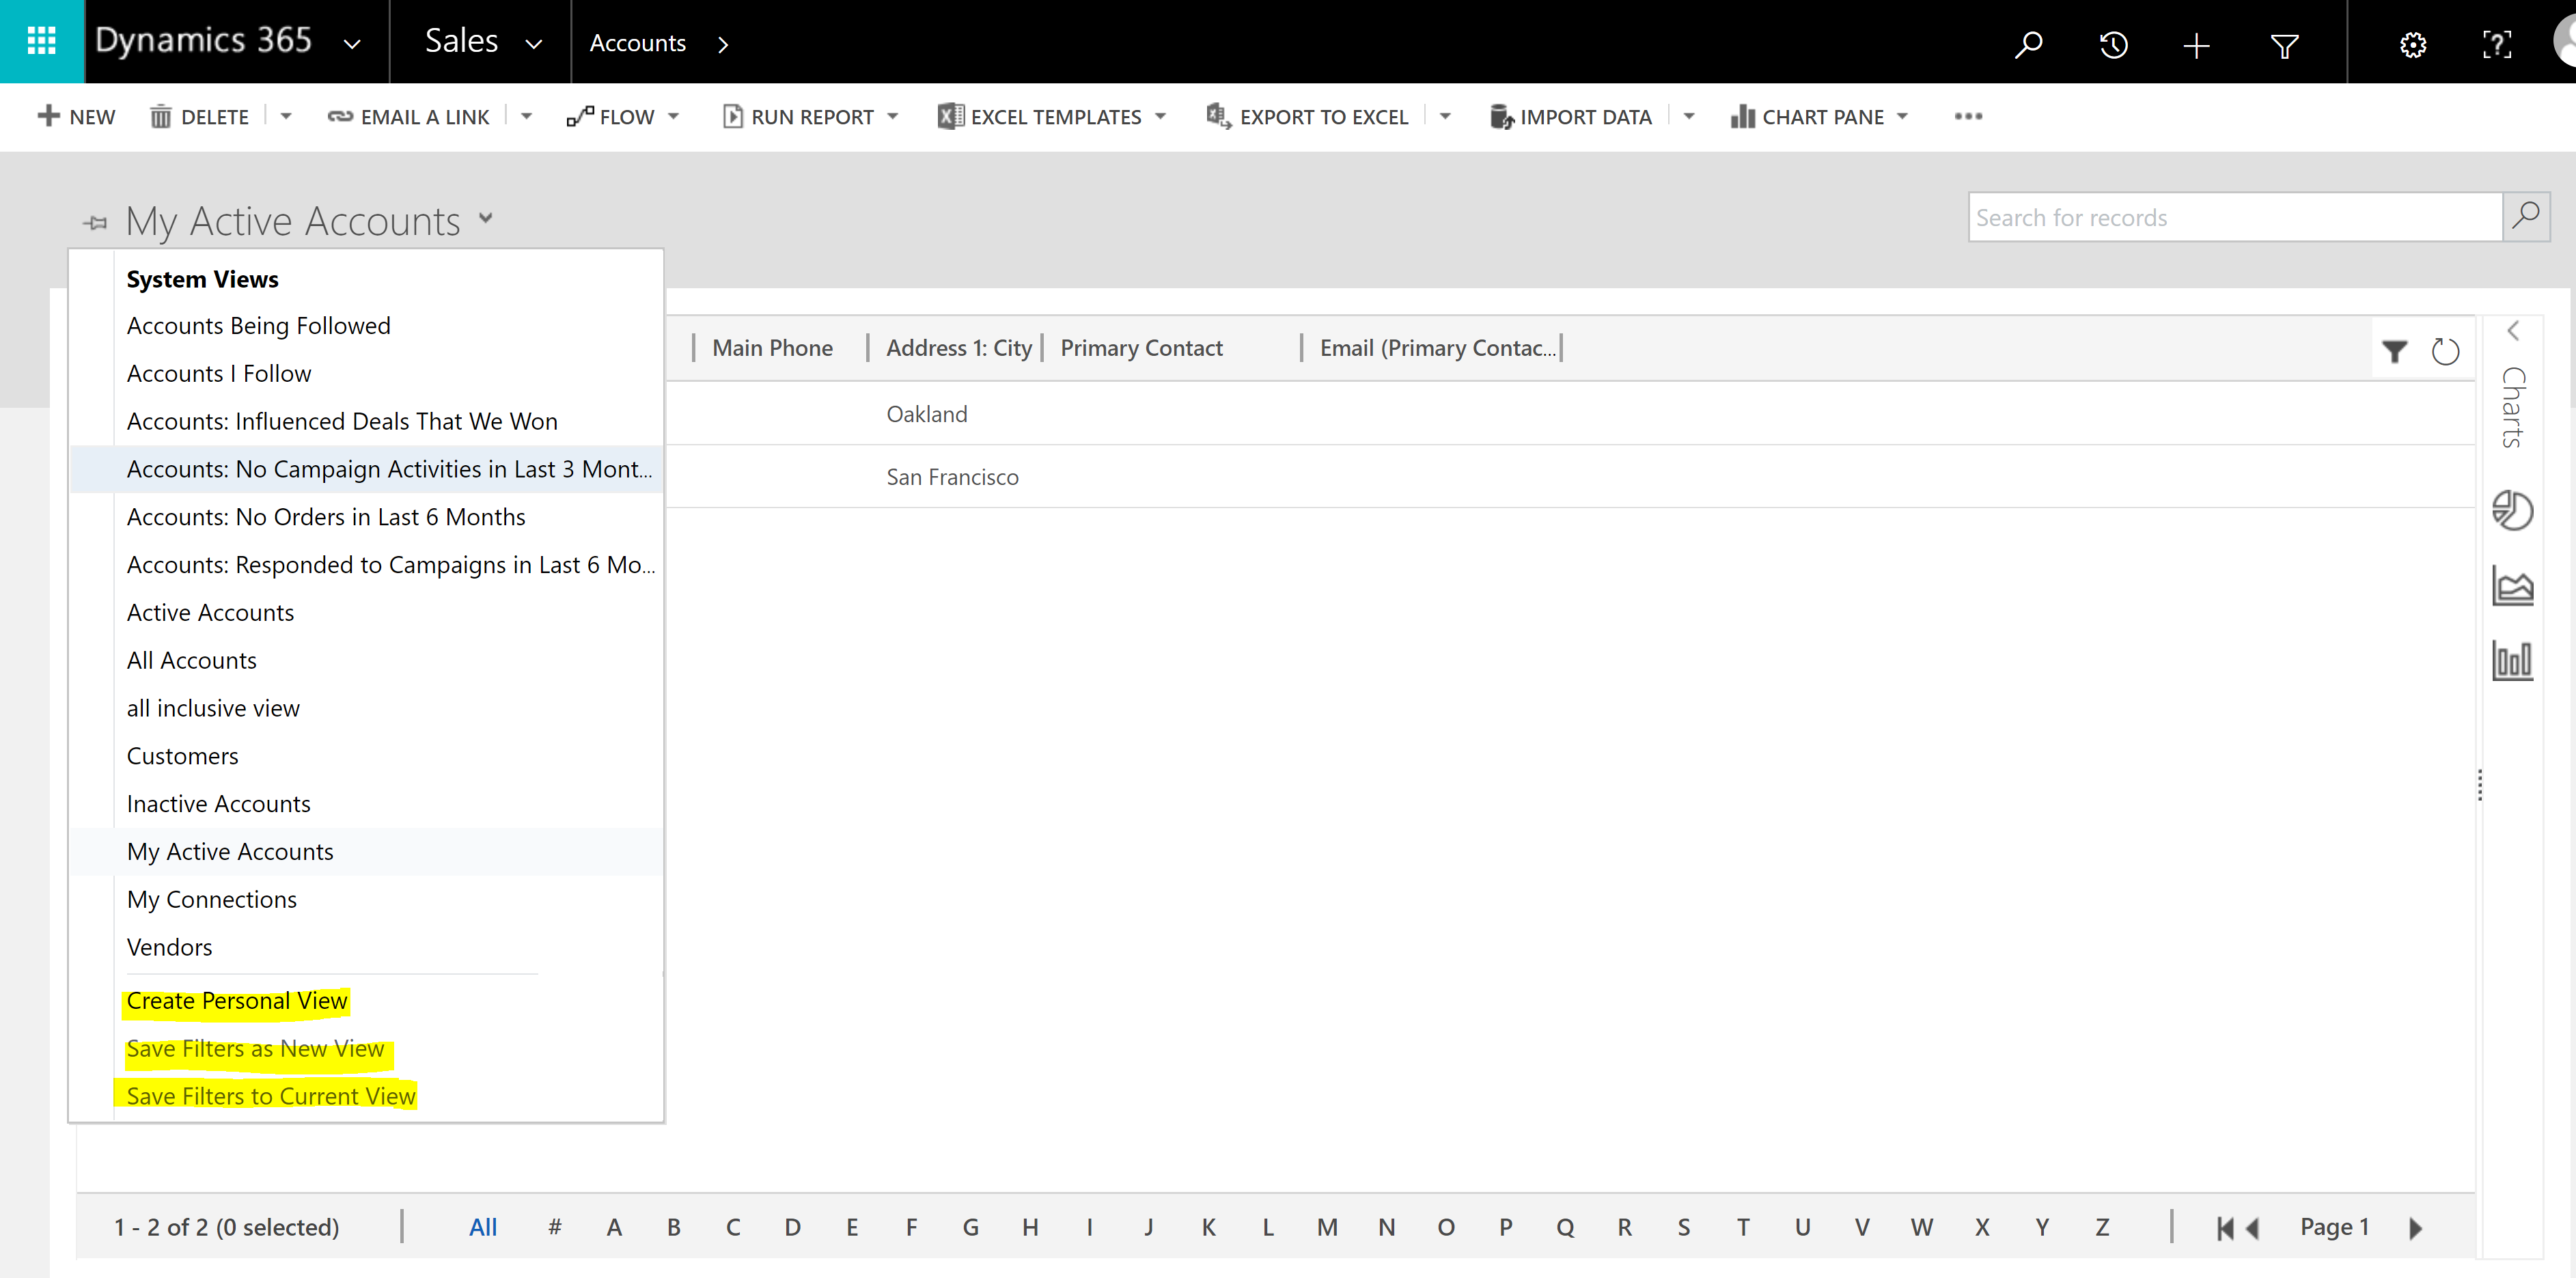
To make this simpler, when a user creates a Personal View, it shows up as “My Views.” When an admin creates a Public View, it shows up as a “System View.” You can see them both in the image below. There are multiple types of Public views that we, as Admins can implement.

Types of Views
Public View – This is the normal view that is created when you select a system view. Available to all users with access to that Entity.
Advanced Find View – When using advanced find, this is the that will populate.
Associated View – This is the view that is populated when associated records are shown.
Quick Find View – This is the view that is displayed when trying to find a record.
Lookup View – This is a view that populates when we lookup a record.
Creating a System View
Go to Settings, Customizations, Customize the System, and select the Entity that this View will be in. For this example I will create a View on the Account Entity. To do this, select “Views”, and create a new one.

I want to display all of the Accounts that are in California. To start, let’s begin by selecting the “View Properties” button.

The View Properties form allows you to change the name and description.

The Edit Filter Criteria form edits the criteria for the view. I selected the options below to filter the search for accounts that are in CA.

Configure Sort Order is where you can sort the columns and choose ascending or descending order.

The Three other forms for the View that we are creating allow us to further edits our results from the search.
Add columns – adds columns to the view from the record.
Change Properties – Allows control of the widths of columns
Remove – Removes the column from the view
The definitions are based from the Microsoft Dynamics 365 website. I encourage you to look at them. These documents are helpful when you want to learn more in depth on any subject.
